How do you complete the Shattered Veil main quest in BO6? With the Sentinel Artifact securely secured, it's time for the team to head over to an old mansion that sits secluded in the woods beyond Liberty Falls. There, they'll meet up with S.A.M, the synthetic AI system based on Maxis, which could be the key to freeing her.
Of course, it wouldn't be a FPS game if you manage to clear it before Directed Mode comes in.
Before we dive in, it should be noted that Shattered Veil is a continuation of Terminus main quest. As such, we recommend you polish those off before heading into Shattered Veil. It should also be noted that you'll need to bring the Aether Shroud Field Upgrade with you, as one of the steps requires using it.

Here are the steps to complete the Shattered Veil main quest in Black Ops 6:
- Activate Pack-a-Punch
- Acquire the Ray Gun Mark II
- Collect the three Ray Gun Mark II upgrade canisters
- Craft the Ray Gun Mark II-W
- Complete the Ray Gun Mark II-W quest
- Craft the Ray Gun Mark II-R
- Complete the Ray Gun Mark II-R quest
- Craft the Ray Gun Mark II-P
- Complete the Ray Gun Mark II-P quest
- Give the Sentinel Artifact to S.A.M.
- Defeat the Z-Rex
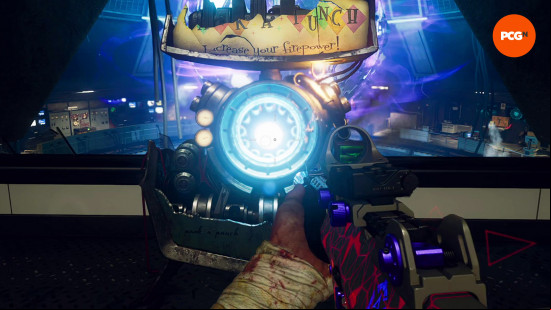
Activate Pack-a-Punch
Getting Pack-a-Punch going is pretty standard fare, and has traditionally been the one part of each easter egg quest BO6 guides you through. To get to the Pack-a-Punch machine in Shattered Veil, you'll first need to collect a Fuse from the maintenance worker zombie found up the ladder in the Library, before heading towards the elevator. When you're close enough, it'll trigger the next task, which involves destroying Richtofen's PC in the Director's Quarters for its Circuit Board.
With the necessary parts gathered, head to the back of the elevator situated in the Banquet Hall and interact with it to repair it. Spin round to the front, hit the button to call the elevator, and kill the zombies that come tumbling out of it. Rappel down the elevator shaft, say hello to S.A.M., and run up the stairs to Pack-a-Punch.
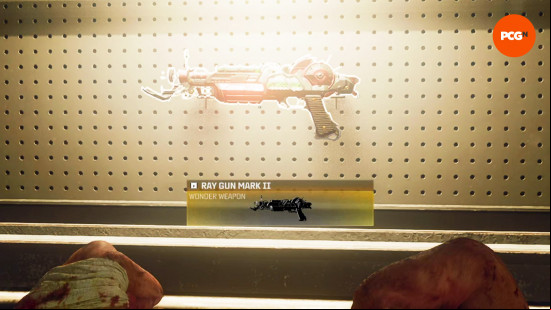
How to craft the Ray Gun Mark II
There are two ways to get the Ray Gun Mark II in Shattered Veil: use a Mystery Box (equip the Wonderbar Gobblegum to dramatically up your odds), or undertake its special side quest. While the first option is nice and easy, the second requires considerably more legwork (though it is infinitely more enriching procuring it the canon way). Don't worry, though, as we'll take you through it step-by-step.
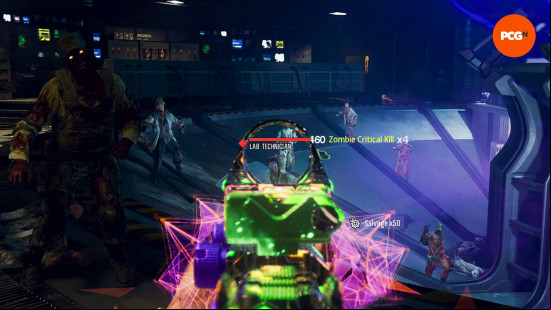
Acquire the Floppy Disk
From Round 10, there is a chance for a Lab Technician zombie to spawn in either the Mainframe Chamber or Service Tunnels that can be opened from there. Killing it yields a Floppy Disk – if you don't know what one of those is… thanks for making us feel old. While you can encounter the Lab Technician as early as Round 10, he occasionally doesn't get the memo to spawn in for another few rounds, so don't fret if he isn't there. If you've nuked the t during these rounds, then you might have to dig around for the drop.

Use the Floppy Disk on the fax machine
With our mystery disk in hand, it's time to head over to the East Foyer. Here, you'll want to pop the Floppy Disk into the fax machine sitting next to the monitors. It will slowly begin to print a message on a piece of paper with a Project Janus letterhead. Before you can snag it, though, a retinue of voracious Vermin will spawn in.
Once the print job's done, interact with the paper to open a dialog box. It will mention a four-letter word depending on your game. So far, we've had 'CRAB' and 'YETI.' A mystery code, yippee.

Decipher the code
Now we have our four-letter cipher, it's time to figure out what it means. Head over to the Nursery and locate the chalkboard. There'll be numerous groupings of letters of differing sizes on the board. From here, you can convert each letter of your word into a numerical value based on how many letters are in the group it belongs to. In our example, YETI equates to 5481. With our digits deciphered, let's go and punch them in.
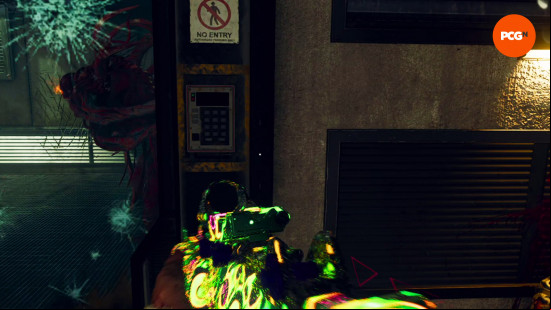
Open the Service Tunnel door
Head back down to the Service Tunnel and you'll find a glass door with a keypad next to it. Punch your code in and open it up, revealing the Doppelghast within. Kill it, alongside anything else that spawns, and pick up the Severed Arm.
Retrieve the Ray Gun Mark II
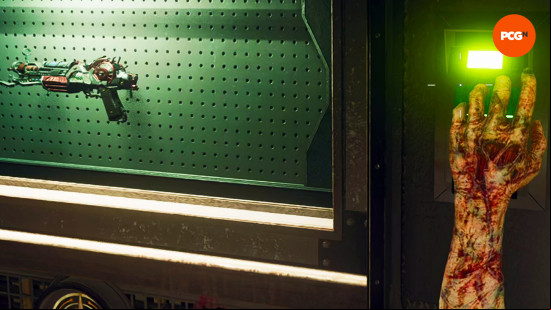
Armed with your new appendage, shuttle down the Service Tunnel, into the Supply Depot, and through the door to the Armory. Slap the hand from the Severed Arm onto the biometric scanner and voilà, the Ray Gun Mark II is now yours to zap zombies with.
Collect the three Ray Gun Mark II upgrade canisters
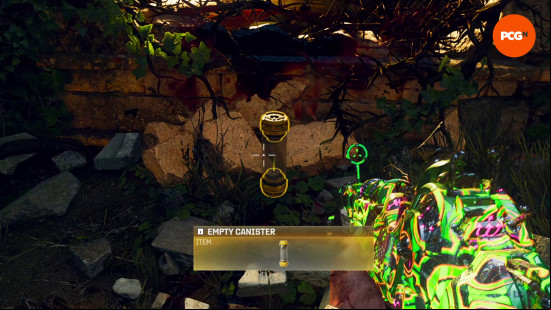
With the Ray Gun Mark II in hand, you'll need to unlock its three alternate functions if you want to conquer Shattered Veil. To do so, we're going to need to hoover up three canisters and do some light crafting.
First Canister
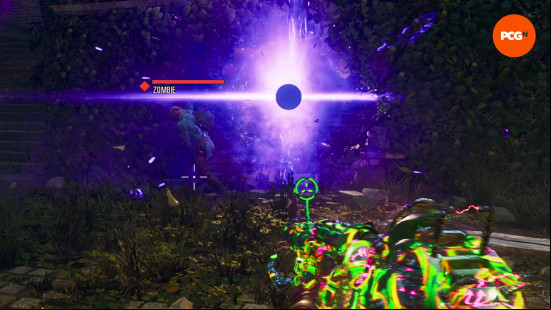
The first canister requires you to grab yourself an LT53 Kazimir Grenade. This can either be crafted or, if you're still in the Service Tunnel, scavenged from the large pile of rubble near the Armor Wall Buy. With the payload secured, head out to the Rear Patio, below Double Tap, and throw the grenade just outside the zombie window. This will suck the canister out from the window, allowing you to pick it up once the mini black hole has subsided.
Second Canister
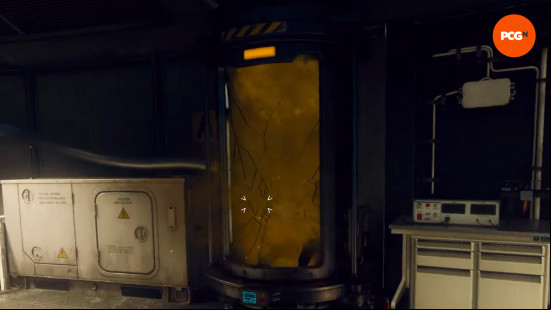
The next canister necessitates the use of two Combat Axes, so craft them or pick them up from around the map. The hatchets can be found on a tree stump in the Garden Pond, under the bed in the Nursery, or near the Pack-a-Punch machine in Security Overlook. In the Mainframe Chamber, you'll find a large vertical tube with a body slumped inside just to the left of S.A.M. as you come down. Next to the cylinder, you'll find a yellow square with a black letter – either 'A' or 'B' on the wall,
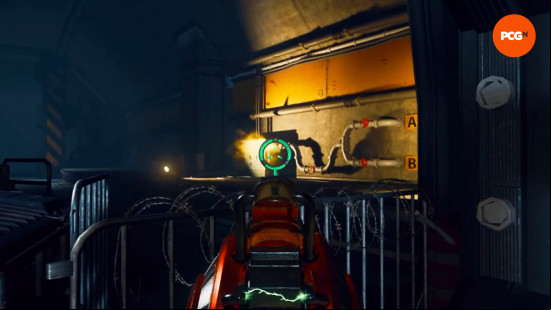
Now head down to the Service Tunnel, and look out of bounds near the Gobblegum machine. On the wall, you'll see a pipe emitting gas, with three valve wheels attached to it. Throw the first Combat Axe at the orange wheel and the second at the wheel labelled with the letter you saw in the Mainframe Chamber. If done correctly, S.A.M. will chime in and note that a gas leak has been detected. Note: You can always simply bring four hatchets with you and close one lettered valve before trying the other.
Head back to the Mainframe Chamber and you'll find that the tube has now filled with gas. Break it with an explosive and collect the canister.
Third Canister
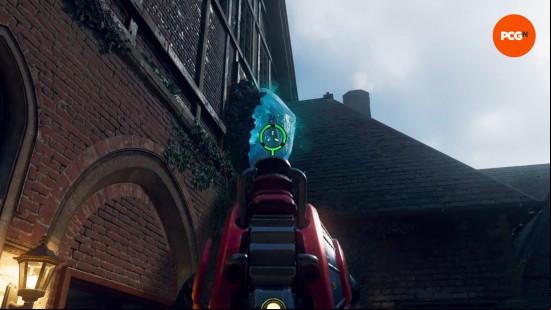
Though the last canister is the easiest to acquire on paper, there is a bit of RNG tied to it. There is a chance for large blue crystals to spawn high up on the Conservatory, East Foyer, Service Tunnel, and South West Balcony. Shooting these out has a chance to drop the canister. Simply run around dispatching the crystals until the canister is yours.
With all three canisters secured, we can now complete the three main quest steps tied to each Ray Gun Mark II alternate. These can be done in any order, though we prefer to start with the Ray Gun Mark II-W, as this is the version we preferred using the most.
Complete the Ray Gun Mark II-W quest
Craft the Ray Gun Mark II-W
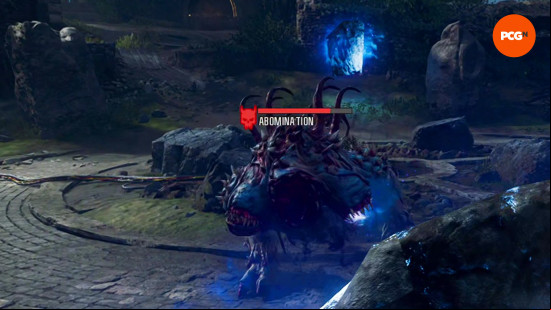
With your first canister, head outside to Shem's Henge and place it in the yellow machine opposite Speed Cola. Upon entering the stone-filled area, two Abominations will spawn. Don't kill them. This section requires you to bait the Abominations into zapping the three smaller rocks around Shem's Henge, causing them to glow. Simply have them aim their ire at you, and dip behind one of the stones when they open up.
When each stone begins glowing, you'll now need to bait one of the Abominations into charging at it, resulting in it ascending into the air and floating. Rinse and repeat until all three rocks are airborne, and an energy siphon will spawn in the center.
For the next stage, Vermin will continuously attempt to disrupt the energy siphon from doing its thing. Murder everything until the 'Power Extracted' bar reaches 100%. Return to the machine and grab what is now the Explosive Canister, before heading to the crafting bench in the Supply Depot and making the Ray Gun Mark II-W.
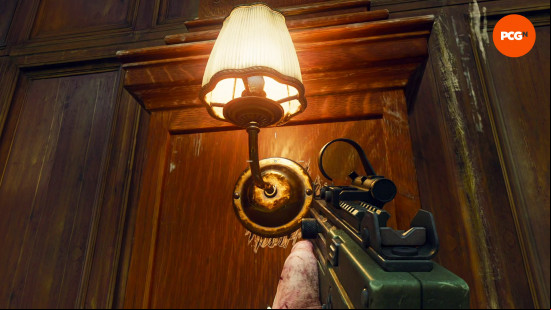
Collect the Sconce
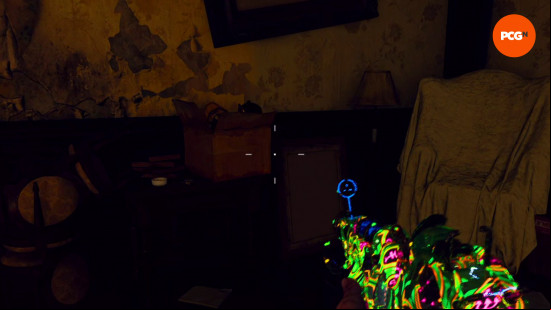
Now the Mark II-W is all yours, you're going to need to collect the Sconce from a cardboard box in the Banquet Hall – more specifically, this is in the Gobblegum room near Double Tap. Head to the Grand Foyer and place it in the Sconce slot in the wall between Juggernog and the staircase.
Complete the Simon Says light puzzle
With the Sconce securely fitted, the two lights on the wall will now begin to flash sequentially as part of a three-stage game of Simon Says. The sequence changes from game to game, so pay attention. If, for example, the right lamp lights up once for stage one, go and interact with it once before moving away, completing the stage. If done correctly, the next stage will begin, and a more challenging combination will flash between the pair. Rinse and repeat, and the wall between the lamps will open, leading down to the Distillery.
Open the portal to the Liminal Distillery
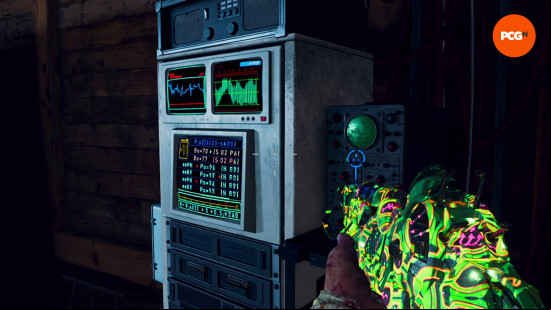
Once down in the Distillery, you'll find a machine next to the large portrait in the room. Interact with it, causing zombies to pour into the area that will offer up their souls as you mow them down. If you kill enough of them in the given time, a portal to the Liminal Distillery will open, beckoning you through.
Collect the Metal Hip Flask
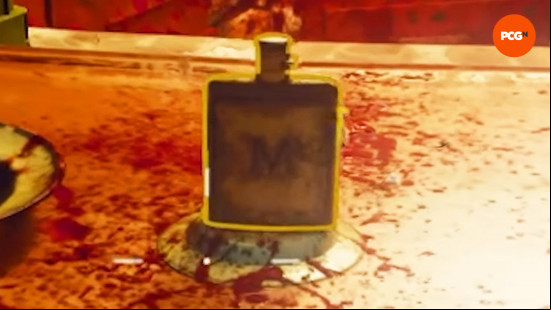
Upon entering the Liminal Distillery, you will encounter a liminal version of Mallow, who is in dire need of a nightcap – aren't we all? To retrieve the Metal Hip Flask, we first need to head to the Study and case the t for a small bell (the kind you'd find in a hotel lobby). There are a ton of spawn points for this, so keep your eyes peeled. If you find it behind glass, simply shoot out the glass and retrieve it.
Now, we need to head upstairs from the Grand Foyer to the bar in the Overlook. Place the bell on the bar, and head to an Arsenal machine to switch your ammo type to Brain Rot. Head back to the bar, Brain Rot a zombie, and interact with the bell until the zombie hops over the bar, grabs the Metal Hip Flask, and explodes. The flask will land safely on the counter, so grab it and head back to the Liminal Distillery. Pop the Sentinel Artifact on the ornate pedestal and get ready to be locked in.
Kill the shielded Elite in the Liminal Distillery
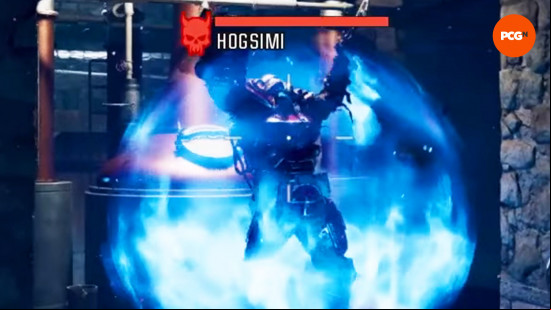
As with the other two Ray Gun quests you'll encounter, an Elite will spawn in alongside plenty of ravenous undead. This super zombie will pop up a blue shield that requires the Ray Gun Mark II-W to destroy. Break shield, dish out damage, repeat until dead. Lovely.
Complete the Ray Gun Mark II-R quest
Craft the Ray Gun Mark II-R
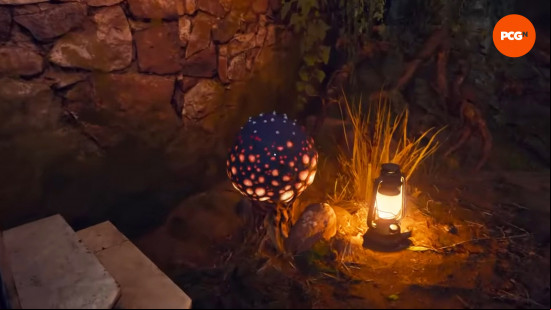
For the Ray Gun Mark II-R, we need to head back outside and locate four Plant Seeds, which can be acquired by whipping out the Mark II Ray Gun (or grenades) and destroying the small speckled plants which can be found near the Conservatory, Double Tap, Garden Pond, Motor Court, Rear Patior, South West Balcony, and West Balcony.

With all four seeds collected, head to the Conservatory and plant a seed in each of the four planters jotted around it, before placing the canister in the holder at the top of the stairs, opposite one of the planters. Now, simply go around interacting with each seed and killing the zombies that spawn. A 'Toxic Spores Harvested' bar will appear when you begin this step, and you only need to wait until a quarter of the bar has filled before you can head to the next planter.
Once all the spores have been harvested, return to what is now the Toxic Canister and retrieve it. Finally, head to the Garden Pond crafting bench and combine the canister with the Ray Gun Mark II to create the Mark II-R.
Head into the Liminal Library
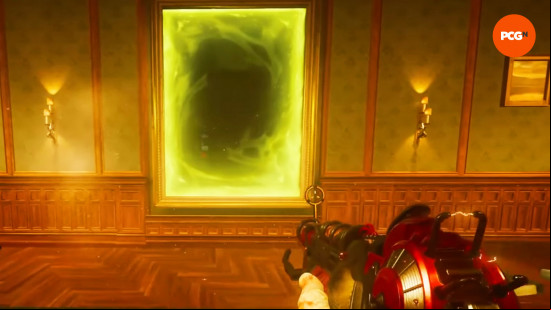
With your amped up Ray Gun secured, go over to the Library. Once again, interact with the machine to the left of the large portrait to begin the charging process. Kill, maim, etc., until complete, and jump in.
Collect the items Colton requests
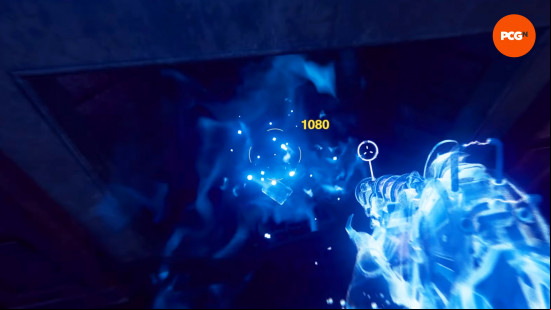
when we said you'll need Aether Shroud? Well, now is its time to shine. Upon entering the Liminal Library you will encounter a liminal version of Colton, and he has a list of stuff for you to go and find: an Audio Log, a Ledger, and a Nuclear Plant ID Badge.
These items can only be seen when using Aether Shroud, making it arguably the most annoying part of the entire quest. We have two top tips that should help, though. Firstly, you can throw Molotovs into the fireplace spawns. If the flame turns blue, that's the correct spot. Secondly, you can easily recharge Aether Shroud by picking up the canisters that spawn in the Mainframe Chamber and Pack-a-Punch rooms during this part of the easter egg.
As for possible spawns, there are a few fireplace spawns for the ID Badge: Banquet Hall, East Foyer, and the Study. The Audio Recorder, meanwhile, can spawn on the sofa outside the Liminal Library portal or on the computer desk to the left of the bar in Overlook. Finally, the Ledger can appear on a desk in either the Study or the East Foyer. Colton does offer up hints, so listen carefully to help you narrow these spots down.

Light up the books and collect the Nuclear Plant Inspection Report
Once the parts have been gathered, return to the real-world Library. You should now see three white books with a spectral glow on the bookshelves. Interact with these in any combination until they eventually activate, revealing a secret compartment. Nip in and grab the Nuclear Plant Inspection Report.

Kill the shielded Elite in the Liminal Library
Once you've got the report, dive back through the portal into the Liminal Library and interact with the ornate podium to the left of the entryway. This will place down the Sentinel Artifact and trigger a lockdown, causing hordes of zombies to appear alongside a special Elite.
Make sure you have your Ray Gun Mark II-R at the ready, as this Elite will enshroud itself in a shield that can only be removed with the altered weapon. Once down, throw everything at the Elite, repeating the phases each time the shield returns. Once everything is suitably dead, grab the Sentinel Artifact and move on.

Complete the Ray Gun Mark II-P quest
Craft the Ray Gun Mark II-P
For the final Mark II variant, the Mark II-P, you're first going to need to go around the map destroying the small white Project Janus crates until you find an Essence Bomb. Now, head down to the Armor Wall Buy wall in the Service Tunnel, around the area where we found the Kazimir Grenade earlier. Near the corner of this wall, you'll see some destroyed pipes above a heap of rubble. Interact with the rubble to plant the bomb and blow it up to reveal a secret tunnel.
At the end of the tunnel, you'll discover Serpent Mound. Before you can proceed, though, you're going to need to collect the two Reflectors that can be found in the fountains in the Conservatory and South West Balcony.

Now you have the Reflectors, head back down to Serpent Mound, placing the first on a podium located near the south-east wall. Pop the second Reflector on the second podium towards the western wall, and lasers will begin to emit around the room.
To fill the canister, you'll now need to harvest Doppelghast Souls from three of the beasties. These zombies are encased in rock and require a burst of energy to reveal. To crack the first one open, simply melee the crystal emitting the beam in the center of the room, which will fire a surge of energy along the path. As soon as it reanimates the Doppelghast, kill it.
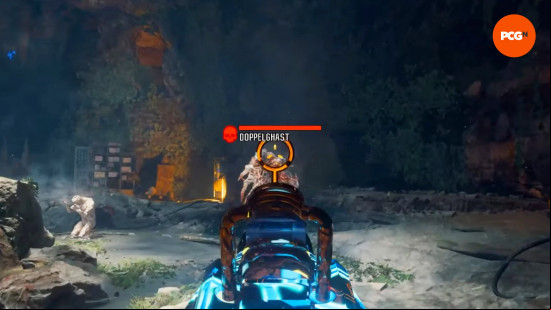
To set up the lasers for the second Doppelghast, you'll need to melee the first Reflector you placed, changing the course. Pick up the second Reflector and place it on the podium in the upper part of the cavern where the light trail now ends. Melee the second Reflector, and the trail should now lead to the second Doppelghast. Melee the crystal, reveal the Doppelghast, and light it up.
For the final Doppelghast, we will need to hit the first Reflector once more, removing the beam from the second Reflector in the upper area. Now we can retrieve the second Reflector, keeping it out of the way. Hit the first Reflector until the beam settles on the final Doppelghast and, well, you know the drill.
With the souls extracted, return to what is now the Light Canister, retrieve it, and combine it with the Ray Gun Mark II at the crafting bench in the Director's Quarters to create the Ray Gun Mark II-P.

Head into the Liminal Banquet Hall
With the Mark II-P equipped, make your way to the Banquet Hall. Here you'll find another machine next to a portrait that you can interact with. Charge the portal by zapping zombies and head through to the Liminal Banquet Hall when you're finished.
On the corner of the long dining table, you'll find a bottle of Ritual Elixir that you'll need to pick up.
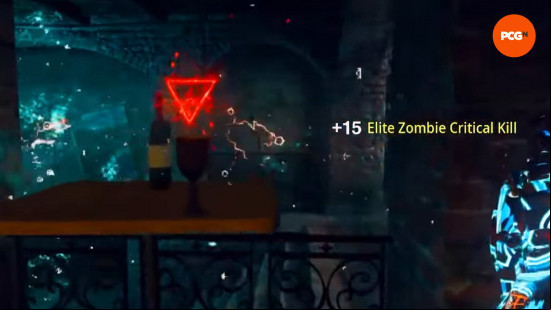
Interact with blood goblets and kill Elder Disciples
For the next step, you need to interact with blood goblets and kill the Elder Disciples that spawn. First, head to the Bottlery and interact with the goblet on the small table to summon the Elder Disciple. Once everything that spawns in is dead, the goblet will show a red symbol above it. The second goblet is located on a bench in the Garden Pond, while the third can be found on a wooden sofa in the Overlook area.

Note the portrait numbers from the Banquet Hall
With all three goblets lit up, head back to the top of the elevator in the Banquet Hall. Three two-digit numbers will have appeared on the walls immediately surrounding the back and sides of the elevator. Facing the elevator doors, move clockwise around it, making note of the numbers and the exact order they appear.

Use the safe code and collect the Antler Carving
With all six digits locked and loaded, run up to the West Hallways where you'll find a small blue safe. Punch in the combination and open the safe to reveal the Antler Carving. With the fancy decoration in hand, return to the Liminal Banquet Hall.
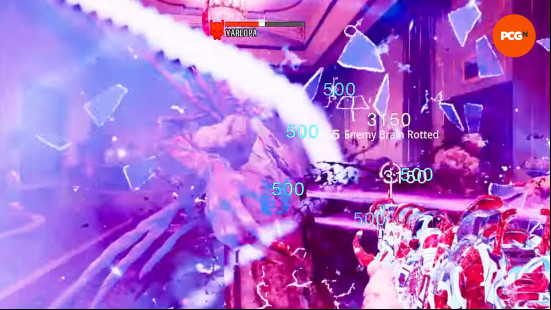
Kill the shielded Elite in the Liminal Banquet Hall
Once again, interact with the ornate podium to place the Sentinel Artifact and trigger a lockdown. The final Elite will spawn alongside its multitude of minions. Use the Ray Gun Mark II-P to blitz its shield when it comes up, before nuking it and everything else in sight. Grab the artifact and get out of there.
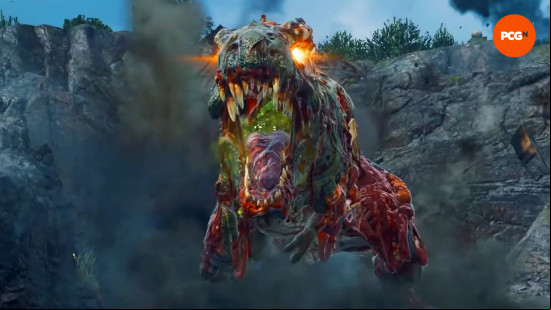
Defeat the Z-Rex
Before heading back to S.A.M. it's important to properly prep for the fight ahead. We're talking Level 3 Armor, Level 3 Pack-a-Punch on your Ray Gun (Mark II-W ideally) if you can, Chopper Gunner locked in (especially for nuking the final phase), and enough points to buy up ammo in case you get too low. Now's also the time to get perked up to the gods – Double Tap's back for a reason – and if you have got Wonderbar! equipped, then roll for the other BO6 Wonder Weapon the map offers up, the Wunderwaffe DG-2.
Once you're as ready as you'll ever be, return to S.A.M. in the Mainframe Chamber, offer up the Sentinel Artifact, and let the cutscene play.
The Z-Rex is a four-phase fight, with the key health thresholds being 75%, 50%, and 25%. A general rule of thumb in this fight is 'if it's glowing, it's probably a weak spot.' Another is 'you stop moving, you die.'
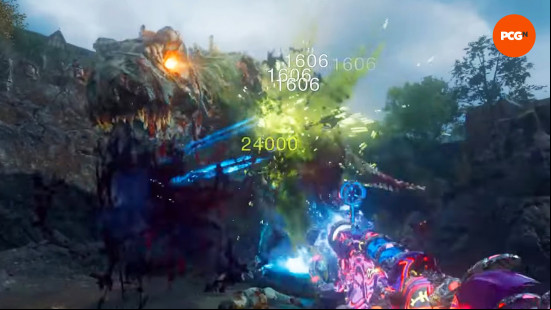
During the first phase, the Z-Rex primarily uses its long tail to attack, so steer well clear. Additionally, it'll occasionally consume one of the toxic zombies in the arena, creating a glowing patch on its ribs. Shooting this patch deals massive damage, so make sure you're quick to capitalize. The big nuisance, not only in this phase but throughout the whole fight, is the toxic pools that the Z-Rex spits out across the arena. Stepping into these deals damage and slows you down, so be careful to avoid them.
Once a damage threshold has been hit, the Z-Rex will jump out of the arena, becoming invulnerable for a set amount of time. During this period, keep killing zombies to keep the horde thinned.
From phase two, expect more acid pools and a more aggressive Z-Rex. It'll also begin doing a sort of jumping dive bomb attack on you or your teammates. Phase three introduces a frontal charge attack that deals big damage, and the Z-Rex moves faster. In the final phase, the Z-Rex will go all-out on mulching you, but if you've heeded our advice and locked in a Chopper Gunner, now's the time to call it in and quickly make mincemeat of the boss.
Congratulations, you've now cleared the Shattered Veil main quest.

BO6 Shattered Veil main quest rewards
The rewards available for completing the BO6 Shattered Veil main quest are:
- 5,000 XP.
- 'PhDeadly' Carver Operator Skin.
- An animated Calling Card, with a unique variant available for those who complete the quest before Directed Mode is added.
And that's how you complete the BO6 Shattered Veil main quest. Now you've finished the main easter egg, check out what other BO6 Zombies maps involve before delving into our other quest guides.
